Product Finder
Indoors
Outdoors

Contact Form

How to Seal Exterior Window Trim to Last

Knowing how to seal exterior window trim will help keep your home protected against rain, snow, drafts and more. When left unsealed or left with old degrading sealant, the gaps between your home’s window trim and siding can let leaks, humidity, airflow and even pests into your home. Sealing around windows is also one way to help keep your home energy efficient and maybe even lower your heating and cooling bills.

Tools & Supplies for Sealing Windows

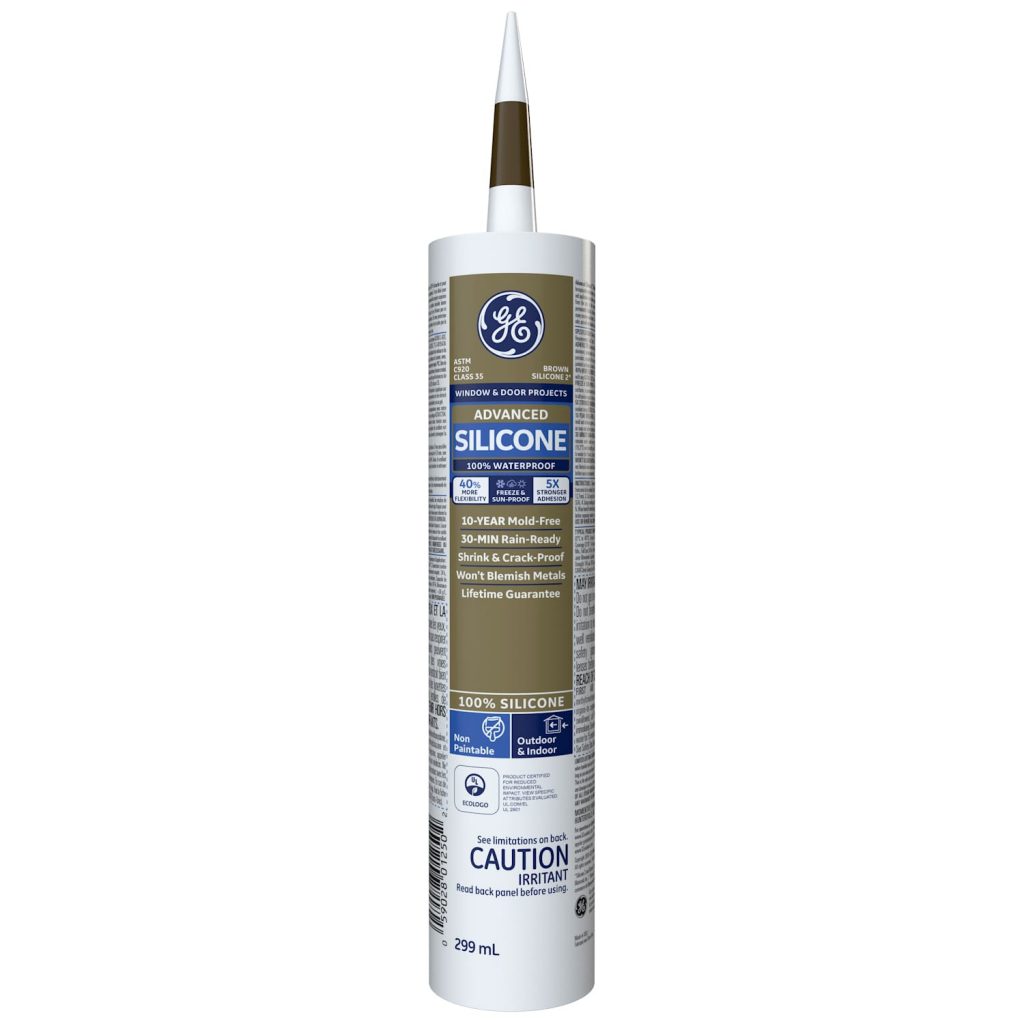
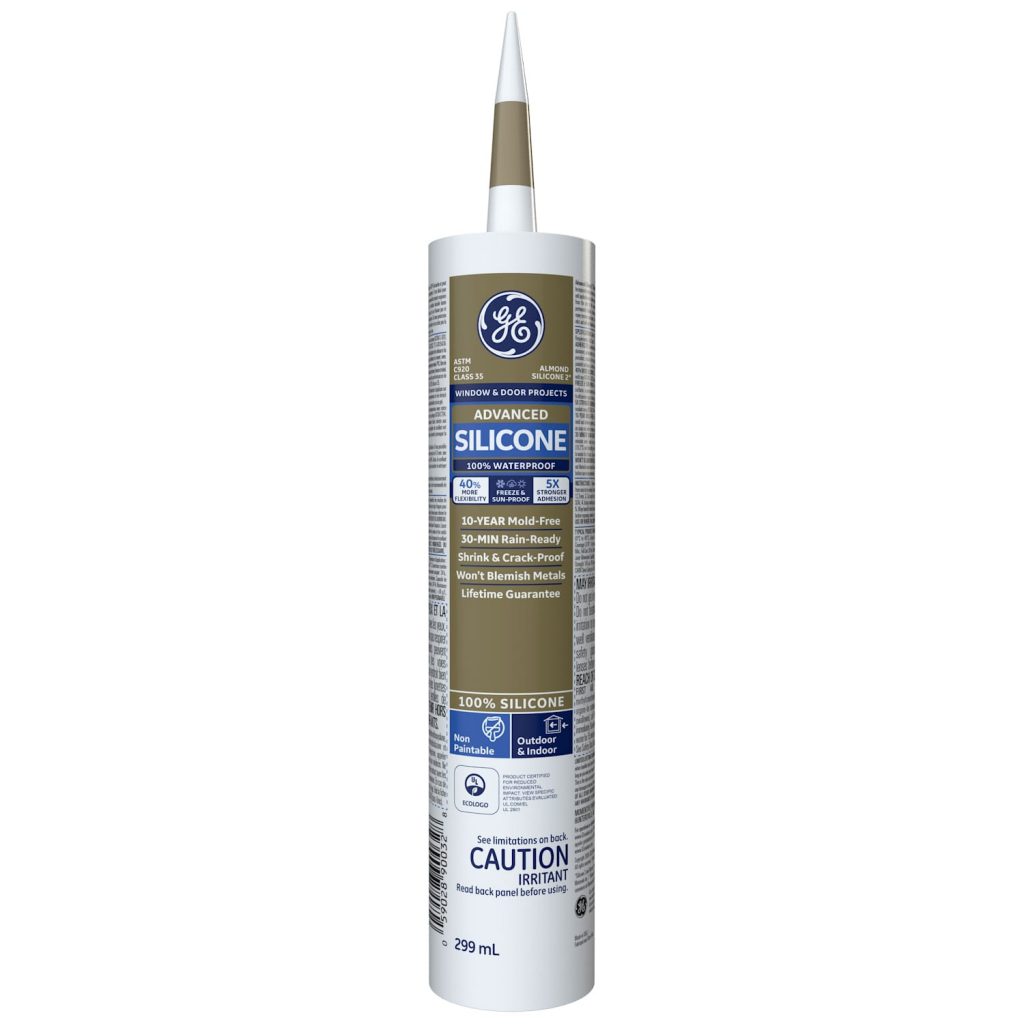
Picking the right sealant for your project can make all the difference. For sealing exterior window trim, or anywhere that could be exposed to water and harsh weather, choose a GE-branded 100% silicone sealant, like GE Advanced Silicone 2® Window & Door sealant or GE Supreme Silicone Window & Door sealant. Both sealants are 100% weatherproof, permanently flexible and won’t crack or shrink with temperature changes. Plus, they offer mold-free product protection1 so your windows are protected against mold and mildew too.

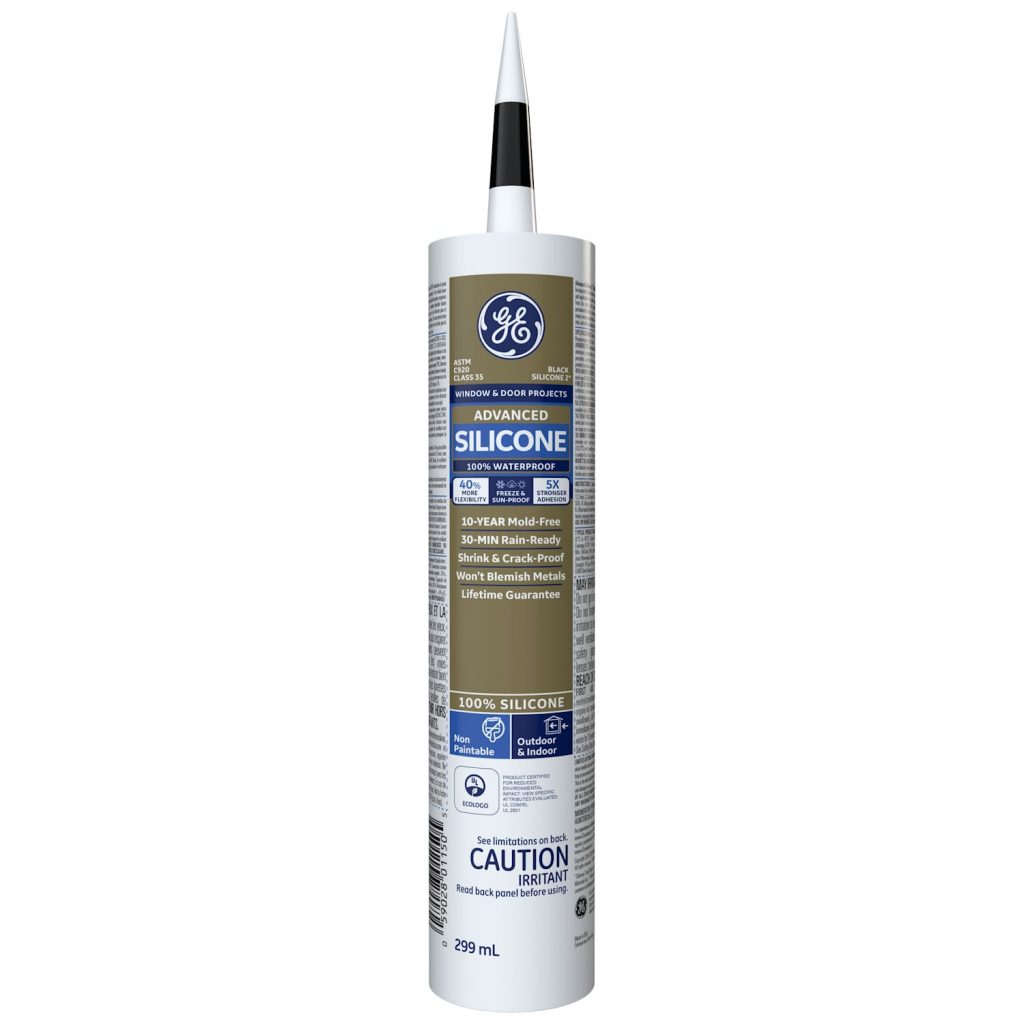
Pro Tip: 100% silicone sealants are not paintable so be sure to pick a color that matches your home’s exterior. ​​GE Advanced Silicone 2® Window & Door sealant and GE Supreme Silicone Window & Door sealant are available in six different colors: almond, black, brown, clear, light gray and white.

Besides a GE-branded 100% silicone sealant, you will also need:

  • Caulk gun
  • Painter’s tape
  • Latex gloves
  • Soapy water
  • Paper towels
  • Stiff bristle brush
  • Utility blade
  • Caulk tool
  • Mineral spirits
  • Isopropyl alcohol

With your tools and GE-branded 100% silicone sealant in hand, you’re ready to learn how to seal exterior window trim so it’s weatherproof and durable for seasons to come:

  1. Start with a Clean Surface

    Whenever you start a new sealing project, make sure you have a clean work surface by wiping it down with isopropyl alcohol. If you’re replacing a seal, completely remove the old caulk or sealant, then wipe down the area with isopropyl alcohol. Let the surface dry before laying a new bead.

    Safety Tip: Make sure your work area is well ventilated when using isopropyl alcohol.

    Applying painter’s tape on either side of the area you’re sealing can help create a smoother bead and easier cleanup. However, depending on your home’s siding and how wide the gaps between it and the trim are, it may be better to rely solely on your own steady hand.

  2. Carefully Cut the Sealant Cartridge

    Next, prepare your sealant by cutting the tip of the cartridge. Cut the cartridge tip at a 45-degree angle. Some caulk guns have a tool to cut the cartridge tip, but we recommend using a utility blade for consistently clean results. Cut off less than you think you’ll need because you can always cut more. Once cut, pierce the cartridge’s inner foil seal using the metal rod on your caulk gun or a long nail. Then load the cartridge into the caulk gun.

  3. Apply Sealant

    Now it’s time to start sealing. Maintain a relaxed, confident grip and steady speed as you apply the sealant. Run a bead between the window trim and the home’s siding, starting from the top corner and working down to the bottom corner. If you can’t make it in one pass, it’s ok to readjust your grip and start where you left off.

    Repeat along the opposite side, and fill gaps with additional sealant as needed.

    Remember to seal along the bottom of the window too.

  4. Tool the Bead

    Use a caulk tool or your finger to tool the sealant bead until it’s smooth. Because it’s important to tool the bead before the sealant starts to cure, it may be better to work in sections. Run a bead of sealant along one side of the trim, tool the bead, then continue applying sealant on the next side.

    Pro Tip: To aid in tooling, dip your finger in a mixture of dish soap and water.

  5. Remove Painter’s Tape & Let Sealant Cure Completely

    If you used painter’s tape, immediately remove it before the sealant has a chance to cure. Remove any excess or unwanted sealant with mineral spirits.Then finally, allow the sealant to cure completely for the best performance. Both GE Advanced Silicone 2® Window & Door sealant and GE Supreme Silicone Window & Door sealant are water-ready in 30-minutes2 and fully cured in 24-hours, but check your product for specific curing instructions.

    Now your exterior windows are weatherproof and ready to weather the storm for years to come. For more step-by-step sealing tutorials with high-performing GE-branded sealants, check out our other How-To guides.

1 Cured sealant is resistant to stain causing mold and mildew. Regular cleaning of the cured sealant is required, however, as soap and other residue can cause secondary mold and mildew growth.

2 Exposure to water possible in as little as 30 minutes with bead size max 3/16””, temperature min 65oF and humidity min 50%. Otherwise, sealant should not be exposed to water for 8 hours. Do not touch or clean sealant for 24 hours. 


Contact Form

How to Seal Around the Exterior of a Door Properly

When left unsealed, the gaps between your door frame or trim and your home’s siding can let in water, drafts and pests, so it’s important to know how to seal a door frame properly. If you notice your old door sealant is cracked, degrading or damaged, then it’s time to replace it. A new, 100% silicone seal will help keep your home weatherproof, pest-resistant and potentially more energy-efficient.

Tools & Supplies for Sealing Doors

Picking the right sealant for your project can make all the difference. For sealing around the exterior of a door, or anywhere that could be exposed to water and harsh weather, choose a GE-branded 100% silicone sealant, like GE Supreme Silicone Window & Door sealant. This sealant is 100% weatherproof, permanently flexible and won’t crack or shrink with temperature changes. It also offers lifetime mold-free product protection1 so your door sealant will be protected against mold and mildew too.

 Pro Tip: 100% silicone sealants are not paintable so be sure to pick a color that matches your home’s exterior. ​​

Besides a GE-branded 100% silicone sealant, you will also need:

  • Caulk gun
  • Painter’s tape
  • Latex gloves
  • Soapy water
  • Paper towels
  • Stiff bristle brush
  • Utility blade
  • Caulk tool
  • Mineral spirits
  • Isopropyl alcohol

Once you have your tools and GE-branded 100% silicone sealant, you’re ready to learn how to seal a door frame to keep out weather, drafts and pests:

  1. Start with a Clean Surface

    Whenever you start a new sealing project, make sure you have a clean work surface by wiping it down with isopropyl alcohol. If you’re replacing a seal, completely remove the old caulk or sealant, then wipe down the area with isopropyl alcohol. Let the surface dry before laying a new bead.

    Safety Tip: Make sure your work area is well ventilated when using isopropyl alcohol.

    Applying painter’s tape on either side of the area you’re sealing can help create a smoother bead and easier cleanup. However, depending on your home’s siding and how wide the gaps between it and the door are, it may be better to rely solely on your own steady hand.

  2. Carefully Cut the Sealant Cartridge

    Next, prepare your sealant by cutting the tip of the cartridge. Cut the cartridge tip at a 45-degree angle. Some caulk guns have a tool to cut the cartridge tip, but we recommend using a utility blade for consistently clean results. Cut off less than you think you’ll need because you can always cut more. Once cut, pierce the cartridge’s inner foil seal using the metal rod on your caulk gun or a long nail. Then load the cartridge into the caulk gun.

  3. Apply Sealant

    Now apply the sealant. Maintain a relaxed, confident grip and steady speed as you apply the sealant. Run a bead between the door frame and the home’s siding, starting from the top corner and working down to the bottom corner. If you can’t make it in one pass, it’s ok to readjust your grip and start where you left off.

    Repeat along the opposite side, and fill gaps with additional sealant as needed.

    Seal around everywhere there are gaps between the frame or casing of the door and the rest of the house, including the door sill.

  4. Tool the Bead

    Use a caulk tool or your finger to tool the sealant bead until it’s smooth. Because it’s important to tool the bead before the sealant starts to cure, it may be better to work in sections. Run a bead of sealant along one side of the door frame, tool the bead, then continue applying sealant on the next side.

    Pro Tip: To aid in tooling, dip your finger in a mixture of dish soap and water.

  5. Remove Painter’s Tape & Let Sealant Cure Completely

    If you used painter’s tape, immediately remove it before the sealant has a chance to cure. Remove any excess or unwanted sealant with mineral spirits.

    Finally, allow the sealant to cure completely for the best performance. GE Supreme Silicone Window & Door sealant is water-ready in 30-minutes2 and fully cured in 24-hours, but check your product for specific curing instructions.

    Now your exterior door has a 100% weatherproof seal that’s made to last. For more step-by-step sealing tutorials with high-performing GE-branded sealants, check out our other How-To guides.

1Cured sealant is resistant to stain causing mold and mildew. Regular cleaning of the cured sealant is required, however, as soap and other residue can cause secondary mold and mildew growth.

2Exposure to water possible in as little as 30 minutes with bead size max 3/16””, temperature min 65oF and humidity min 50%. Otherwise, sealant should not be exposed to water for 8 hours. Do not touch or clean sealant for 24 hours.

Contact Form

How to Remove Old Sealant the Right Way

When tackling renovations or just replacing old sealant, you’ll need to first prepare your work surface. Over time, caulks and sealants can wear down, grow mold, discolor, and shrink. This creates cracks that water, weather and pests can get through. Unless you’re refreshing 100% silicone seals with GE Re-New, old caulk or sealant needs to be completely removed before you can apply new sealant.

To remove sealant, you’ll need: a utility blade, caulking tool, isopropyl alcohol and paper towels.

  1. Score Old Sealant

    First, carefully score the seam of the old sealant with a utility blade. Run the blade along the edge of the old sealant, being cautious not to scratch the surface of whatever you plan to re-seal.

  2. Remove Old Sealant

    After scoring the old sealant, try to remove as much of the old sealant as you can by hand. Use a caulking tool to remove any remaining material.

    For tight corners where your fingers or a caulking tool won’t fit, use the utility blade again to carefully scrape off the sealant.

  3. Clean Surface with Isopropyl Alcohol

    Once you’ve removed as much of the old sealant material as possible, clean up any remaining residue, dust and debris using isopropyl alcohol. Dampen a paper towel with the alcohol, then wipe down your entire work surface. This step is important for making sure the new sealant you apply will adhere properly.

    If the old sealant had mold, clean the area with a mold cleaning solution prior to wiping down with isopropyl alcohol.

    Safety Tip: Make sure your work area is well ventilated when using isopropyl alcohol.

  4. Allow Work Surface to Dry

    Finally, allow your work surface to dry completely before you apply any new sealant. After this step, you’re ready for a successful sealing project.

    To avoid removing old sealant again any time soon, create your next seal with a high-performing GE-branded silicone sealant that’s backed by a lifetime guarantee¹ like GE Advanced Silicone 2® or GE Supreme Silicone. Check out our other How-To Guides for more step-by-step tutorials that will help with your next sealing project.

1Manufacturer warrants that this product, when used as directed, will meet the above specifications for as long as you own your home. If not satisfied, return proof of purchase for refund. This is the sole and exclusive remedy and Manufacturer shall not be liable for any damages in excess of the purchase price. This warranty is in lieu of all other warranties, express or implied, including any warranty of merchantability or fitness.

Contact Form

How to Load a Caulk Gun Quickly & Easily

To create a great seal, you’ll want two things: a cartridge of high-performing GE-branded sealant, like GE Advanced Silicone 2® Kitchen & Bath sealant, and a caulk gun. A caulk gun is an essential sealing tool for large sealing projects that will help you more easily create clean, professional-looking seals. With a little bit of practice, loading a sealant cartridge into a caulk gun will become second nature. Follow these four steps to set up your caulk gun and start sealing right away.

Pro Tip: For tight spaces, smaller projects, or quick repairs try using a GE Sealants squeeze tube. Just cut the nozzle tip, then squeeze out the sealant—no caulk gun required.

  1. Carefully Cut the Sealant Cartridge

    First, cut the tip of the sealant cartridge at a 45-degree angle. There are two ways to do this: either with a utility blade or, if your caulk gun has it, with the caulk gun’s tip cutting tool. For better precision, we recommend using a utility blade.Cut off less than you think you’ll need because you can always cut more.

  2. Pierce Cartridge’s Inner Foil Seal

    Your sealant cartridges may have an inner foil seal that you’ll need to pierce. Most caulk guns have an attached metal rod for this purpose. Swivel the rod around and insert it into the cartridge nozzle until you feel it puncture the inner foil. If your caulk gun doesn’t have this rod, you can use a long nail instead.

  3. Insert the Cartridge

    Once you’ve cut the tip and pierced the inner seal, you’re ready to insert the sealant cartridge into the caulk gun. First, press the release trigger on the handle and pull the plunger all the way back. Then insert the cartridge heel-first into the caulk gun. Release the plunger so that it’s seated firmly against the end of the cartridge. When the cartridge is securely loaded into the caulk gun, squeeze the trigger a few times and run a test bead of sealant. Press the release trigger to remove any pressure and stop the flow of sealant. This will help you get a feel for the pressure and speed needed to apply the sealant.

    Refer to our other How-To videos for common how to applications.

  4. Remove the Cartridge

    Once you’re finished sealing, it’s time to unload the caulk gun. Press the release trigger again and pull back the plunger. Then simply remove the cartridge. Now you’re ready to seal like a pro with high-performing GE-branded sealants that you can always trust to get the job done right.

    For more step-by-step sealing tutorials, check out our other How-To guides.

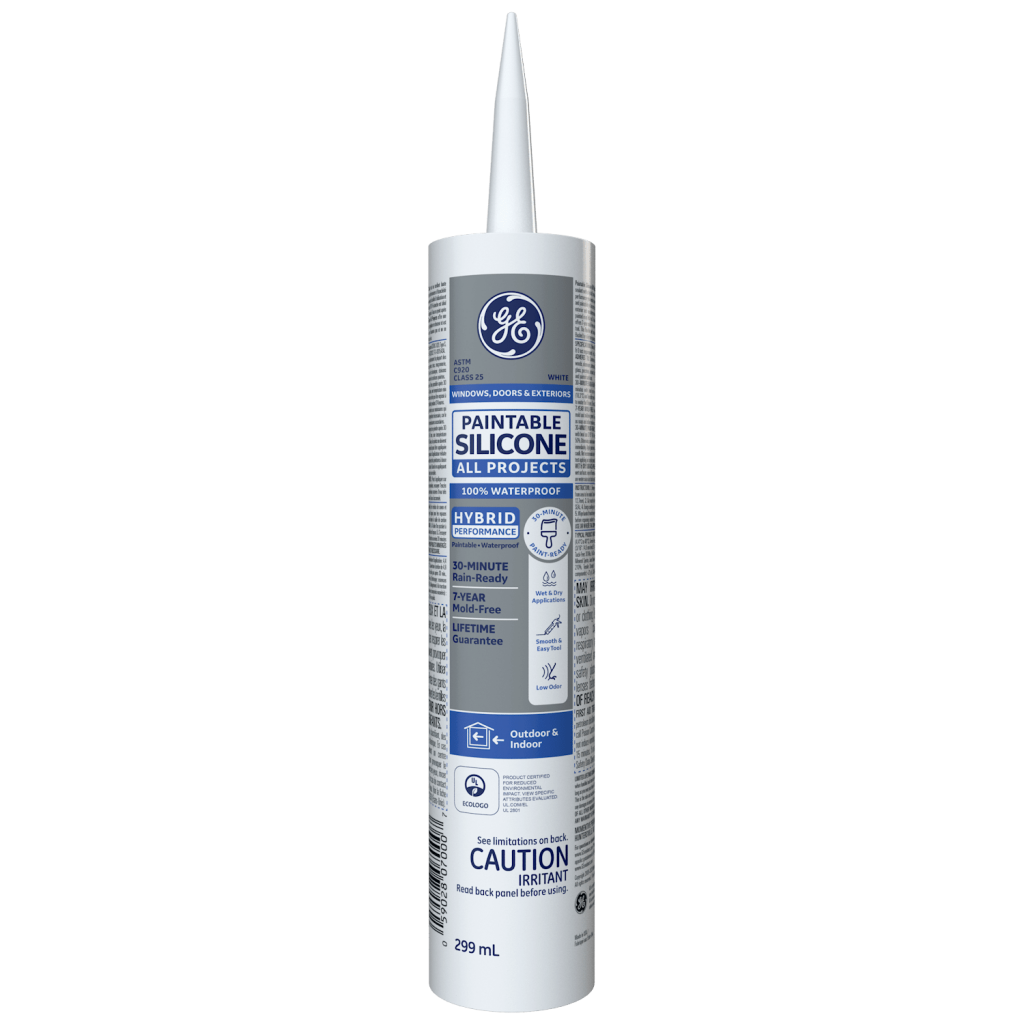
Paintable Silicone All Projects Window & Door Sealant
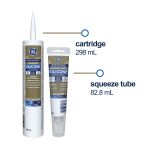
10.1 oz
  • 100% weatherproof
  • 7-year mould-free product protection
  • Durable & flexible
  • 30-minute paint-ready
  • 30-minute rain-ready
  • Shrink & crack-proof
  • Lifetime guarantee

See Product Disclaimers page for important details

Paintable Silicone All Projects Window & Door sealant is a high-performance, 100% waterproof sealant with a hybrid formula that combines the outstanding waterproof performance you would expect from a silicone sealant with the ease of use and paintability of an acrylic latex. Ideal for exterior weatherproofing projects, this formula is designed to provide a reliable seal in areas that may be exposed to moisture and require painting. This sealant is flexible with excellent durability and offers 7-year mould-free product protection that helps resist mould and mildew growth. Backed by a lifetime guarantee.

Adheres to: most metals & woods, aluminum, composites, brick, stone, stucco, masonry, cement board, glass, ceramic & porcelain tile, drywall, plaster, vinyl siding, PVC, fiberglass & painted surfaces

For additional information, see product label.

  1. Remove dirt, grease, moisture, soap residue & old sealant from area to be sealed.  Use backer rod for gaps larger than 1/2″ x 1/2″.
  2. Cut nozzle to obtain desired bead size.
  3. PIERCE INNER FOIL SEAL.
  4. Using caulk gun, apply sealant into gap. Smooth or “tool” the caulk into gap.
  5. Wipe hands & tools thoroughly before washing.
  6. Allow 30 minutes before exposing sealant to water.

Meets ASTM C-920, Type-S, NS, Class 25, use NT, G, A & O test requirements
Fed Spec TT-S-00230C, TT-S-001543A

To access the safety data sheet, enter the product SKU from the list below in the search field found here. Then select your language and country to download a copy.

For products produced by Henkel Corporation, please use the UPC Code. You can click on the corresponding UPC code below to access the SDS.

Color UPC Code
White 061083642488
Paintable Silicone All Projects Window & Door Sealant
30-minute Rain Ready Time
7-year Mold-Free Product Protections
25% Flexibility/Joint Movement
Paintable
Low Odor
Will Not Blemish Most High-End Metals
Available in squeeze tube
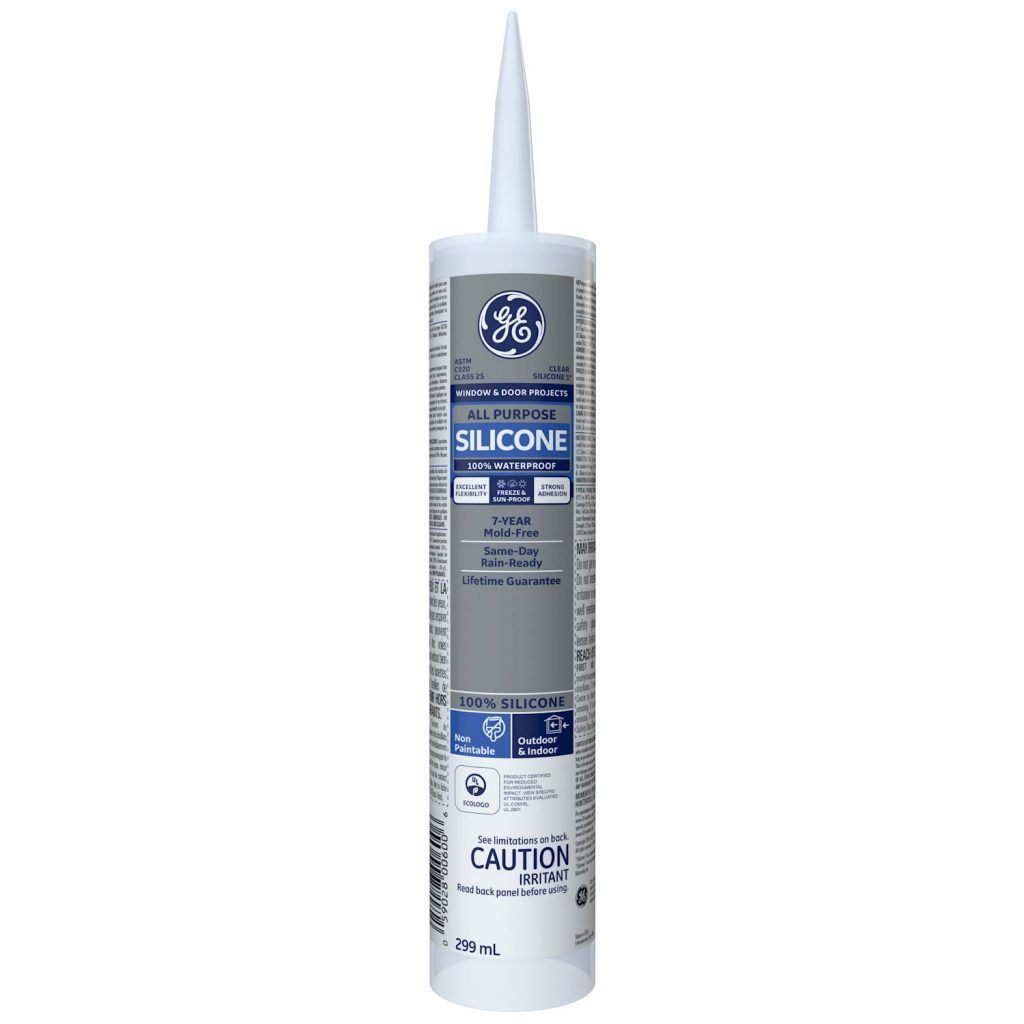
All Purpose Silicone 1® Sealant
Same-day Water-ready Time
7-year Mold-Free Product Protections
25% Flexibility/Joint Movement
Paintable
Low Odor
Will Not Blemish Most High-End Metals
Available in squeeze tube
Advanced Silicone 2® Window & Door Sealant
30-minute Water-ready Time
10-year Mold-Free Product Protections
35% Flexibility/Joint Movement
Paintable
Low Odor
Will Not Blemish Most High-End Metals
Available in squeeze tube

Paintable Silicone All Projects Window & Door Sealant

All Purpose Silicone 1® Sealant

Advanced Silicone 2® Window & Door Sealant
Water-ready Time 30-minuteSame-day30-minute
Mold-Free Product Protections 7-year7-year10-year
Flexibility/Joint Movement 25%25%35%
Paintable
Low Odor
Will Not Blemish Most High-End Metals
Available in squeeze tube

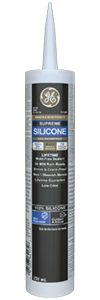
Supreme Silicone Window & Door Sealant

10.1 oz
  • 100% silicone
  • 100% weatherproof
  • Lifetime mould-free product protection
  • Meets ASTM C-920, Class 50
  • 100% more flexibility than Class 25 sealants
  • 7X stronger adhesion
  • 30-minute rain-ready
  • Shrink & crack-proof
  • Resists UV degradation
  • Won’t blemish most high-end metal finishes like chrome, bronze & nickel
  • Lifetime guarantee
  • Neutral curing with low odor
  • Non-paintable

See Product Disclaimers page for important details

Supreme Silicone Window & Door sealant is a premium, 100% silicone and 100% waterproof sealant that provides a reliable seal in weather-prone areas like windows, doors, basements, roofs, sidewalks, siding, tuckpointing and attics. This sealant offers 100% more flexibility than Class 25 sealants and 7X stronger adhesion than Silicone 1* sealant. And, it offers 50% joint movement capability without cracking, shrinking, breaking down or washing away. This sealant has lifetime mould-free product protection that resists stain-causing mould and mildew growth. Backed by a lifetime guarantee.

Adheres to: most metals & woods, aluminum, composites, brick, stone, stucco, masonry, cement board, glass, ceramic & porcelain tile, drywall, plaster, vinyl siding, PVC, fiberglass & painted surfaces

For additional information, see product label.

  1. Remove dirt, grease, moisture, soap residue & old sealant from area to be sealed.  Use backer rod for gaps larger than 1/2″ x 1/2″.
  2. Cut nozzle to obtain desired bead size.
  3. PIERCE INNER FOIL SEAL.
  4. Using caulk gun, apply sealant into gap. Smooth with a gloved finger or “tool” the caulk into gap.
  5. Wipe hands & tools thoroughly before washing.
  6. Allow 30 minutes before exposing sealant to water.

Meets ASTM C-920, Type-S, NS, Class 50, Use A, G & O test requirements
Fed Spec TT-S-00230C; TT-S-001543A

To access the safety data sheet, enter the product SKU from the list below in the search field found here. Then select your language and country to download a copy.

For products produced by Henkel Corporation, please use the UPC Code. You can click on the corresponding UPC code below to access the SDS.

Color UPC Code
White 061083641733
Transparent 061083641726
Supreme Silicone Window & Door Sealant
30-minute Rain Ready Time
Lifetime Mold-Free Product Protections
50% Flexibility/Joint Movement
Paintable
Low Odor
Will Not Blemish Most High-End Metals
Available in squeeze tube
All Purpose Silicone 1® Sealant
Same-day Water-ready Time
7-year Mold-Free Product Protections
25% Flexibility/Joint Movement
Paintable
Low Odor
Will Not Blemish Most High-End Metals
Available in squeeze tube
Advanced Silicone 2® Window & Door Sealant
30-minute Water-ready Time
10-year Mold-Free Product Protections
35% Flexibility/Joint Movement
Paintable
Low Odor
Will Not Blemish Most High-End Metals
Available in squeeze tube

Supreme Silicone Window & Door Sealant

All Purpose Silicone 1® Sealant

Advanced Silicone 2® Window & Door Sealant
Water-ready Time 30-minuteSame-day30-minute
Mold-Free Product Protections Lifetime7-year10-year
Flexibility/Joint Movement 50%25%35%
Paintable
Low Odor
Will Not Blemish Most High-End Metals
Available in squeeze tube

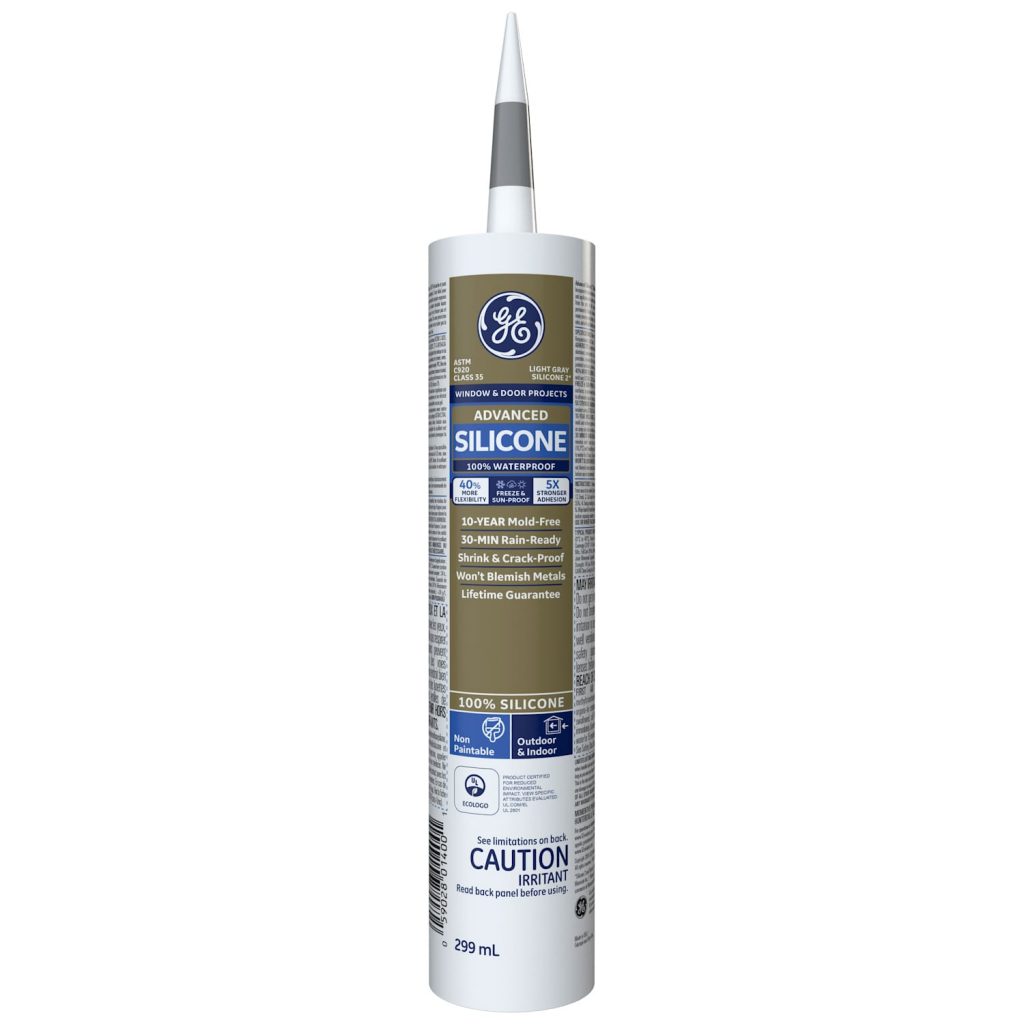
Advanced Silicone 2® Window & Door Sealant

10.1 oz
  • 100% silicone
  • 100% weatherproof
  • 10-year mould-free product protection
  • Meets ASTM C-920, Class 35
  • 40% more flexibility than Class 25 sealants
  • 30-minute rain-ready
  • Shrink & crack-proof
  • Resists UV degradation
  • Lifetime guarantee
  • Neutral curing with low odor
  • Non-paintable

See Product Disclaimers page for important details

Advanced Silicone 2 Window & Door sealant is a high-performance, 100% silicone and 100% weatherproof sealant formulated to protect areas susceptible to harsh weather. These areas include windows, doors, siding, trim, moulding, baseboards, vents, basements, attics and around wires and pipes. Its 30-minute rain-ready formula offers 40% more flexibility than Class 25 sealants and is 5X stronger than Silicone 1* sealant. In addition, it has 10-year mould-free product protection to help resist mould and mildew growth. Backed by a lifetime guarantee.

Adheres to: most metals & woods, aluminum, composites, brick, stone, stucco, masonry, cement board, glass, ceramic & porcelain tile, drywall, plaster, vinyl siding, PVC, fiberglass & painted surfaces

For additional information, see product label.

  1. Remove dirt, grease, moisture, soap residue & old sealant from area to be sealed.  Use backer rod for gaps larger than 1/2″ x 1/2″.
  2. Cut nozzle to obtain desired bead size.
  3. PIERCE INNER FOIL SEAL.
  4. Using caulk gun, apply sealant into gap. Smooth with a gloved finger or “tool” the caulk into gap.
  5. Wipe hands & tools thoroughly before washing.
  6. Allow 30 minutes before exposing sealant to water.

Meets ASTM C-920, Type-S, NS, Class 35 Use G test requirements
Meets ASTM C-920, Type-S, Class 25, Use NT, M, A & O test requirements
Fed Spec TT-S-00230C; TT-S-001543A

To access the safety data sheet, enter the product SKU from the list below in the search field found here. Then select your language and country to download a copy.

For products produced by Henkel Corporation, please use the UPC Code. You can click on the corresponding UPC code below to access the SDS.

Color UPC Code
White 61083641566
Transparent 61083641573
Light Gray 61083641597
Black 61083641641
Brown 61083641658
Almond 61083641696
Advanced Silicone 2® Window & Door Sealant
30-minute Rain Ready Time
10-year Mold-Free Product Protections
35% Flexibility/Joint Movement
Paintable
Low Odor
Will Not Blemish Most High-End Metals
Available in squeeze tube
Supreme Silicone Window & Door Sealant
30-minute Water-ready Time
Lifetime Mold-Free Product Protections
50% Flexibility/Joint Movement
Paintable
Low Odor
Will Not Blemish Most High-End Metals
Available in squeeze tube
All Purpose Silicone 1® Sealant
Same-day Water-ready Time
7-year Mold-Free Product Protections
25% Flexibility/Joint Movement
Paintable
Low Odor
Will Not Blemish Most High-End Metals
Available in squeeze tube

Advanced Silicone 2® Window & Door Sealant

Supreme Silicone Window & Door Sealant
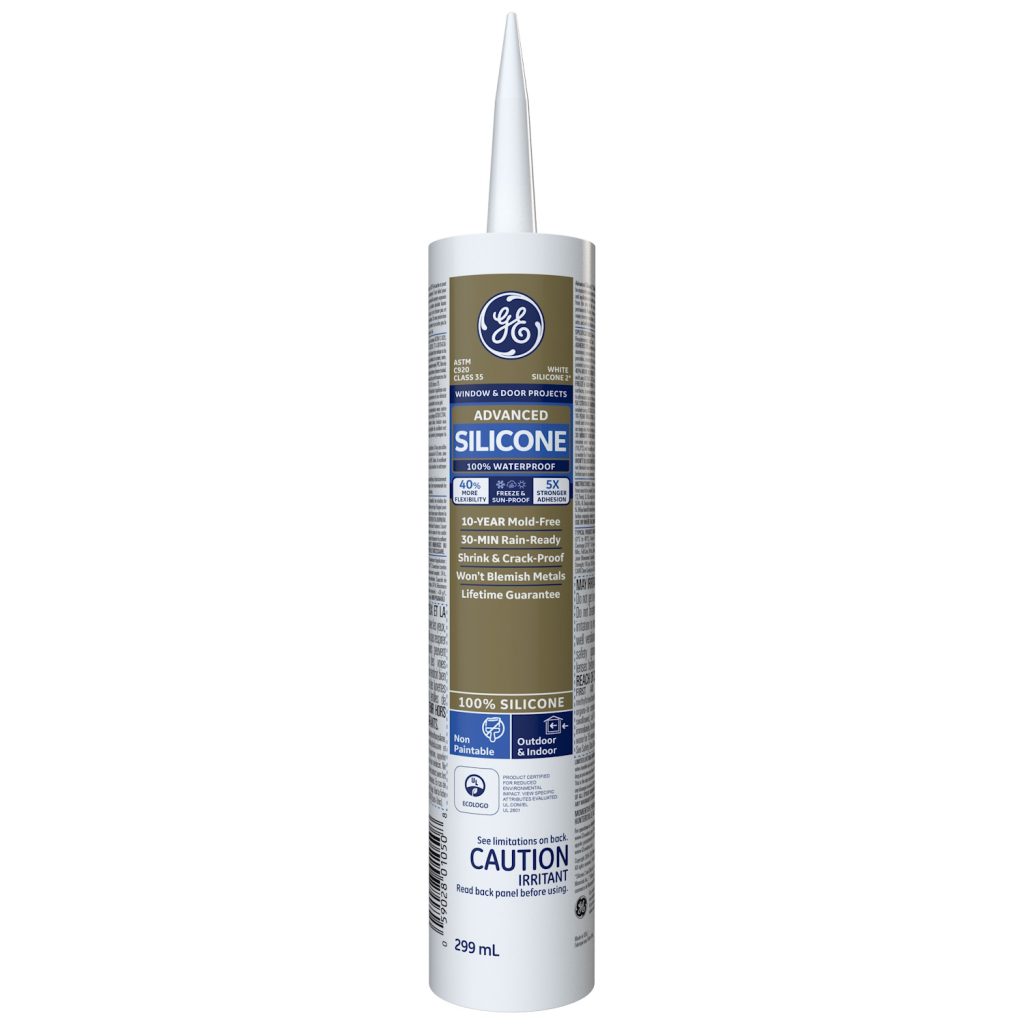
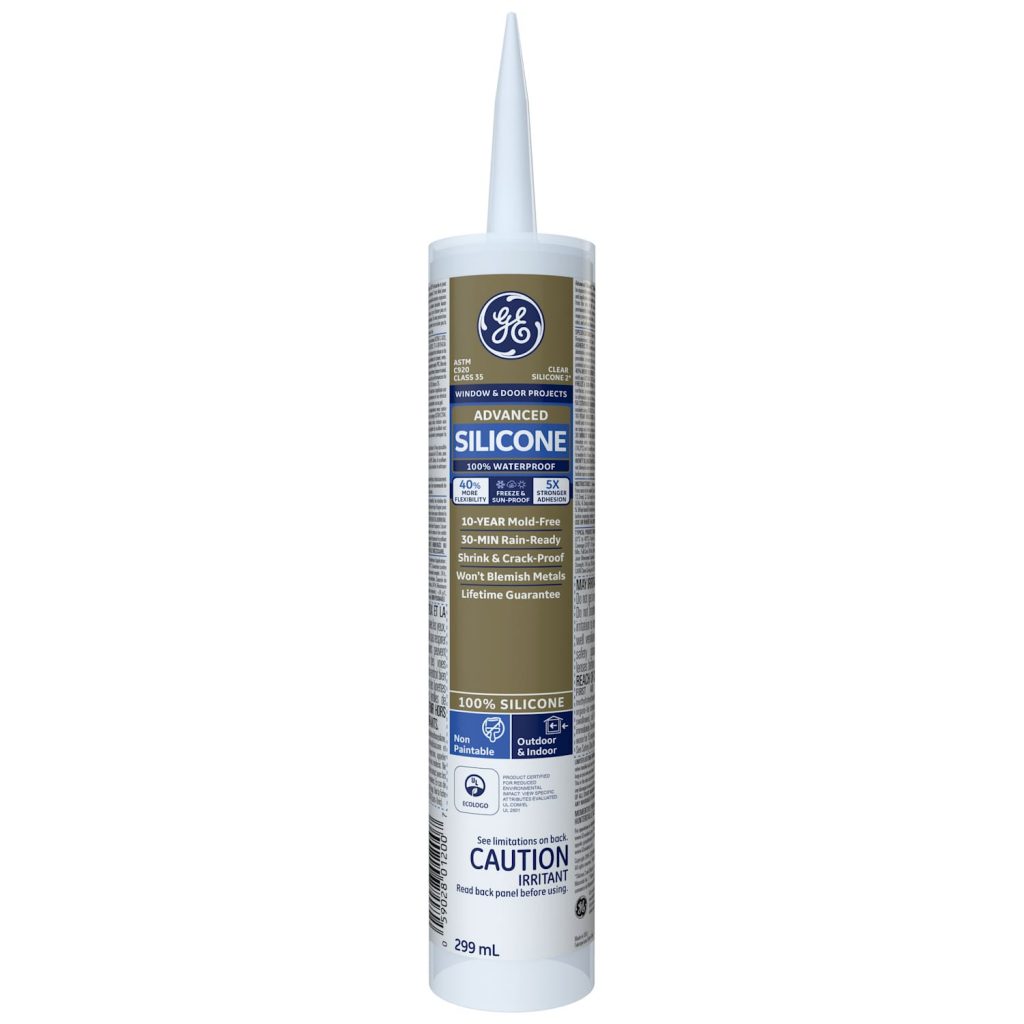
All Purpose Silicone 1® Sealant
Water-ready Time 30-minute30-minuteSame-day
Mold-Free Product Protections 10-yearLifetime7-year
Flexibility/Joint Movement 35%50%25%
Paintable
Low Odor
Will Not Blemish Most High-End Metals
Available in squeeze tube

All Purpose Silicone 1® Sealant

10.1 oz
  • 100% silicone
  • 100% weatherproof
  • 7-year mould-free product protection
  • Meets ASTM C-920, Class 25
  • Permanently flexible
  • Strong adhesion & durability
  • Same-day rain-ready
  • Shrink & crack-proof
  • Resists UV degradation
  • Lifetime guarantee
  • Non-paintable

See Product Disclaimers page for important details

All Purpose Silicone 1 sealant is a 100% silicone and 100% weatherproof sealant ideal for areas that could be exposed to weather. These areas include windows, doors, siding, trim, moulding, baseboards, vents, basements, attics and around wires and pipes. Its same-day rain-ready formula is extremely flexible with strong adhesion and resistant to stain-causing mould and mildew growth with 7-year mould-free product protection. Backed by a lifetime guarantee.

Adheres to: most metals, plastics & woods, glass, drywall, plaster, granite, cultured marble, ceramic & porcelain tile, natural stone, cement board, composites, Formica, fiberglass, aluminum & painted surfaces

For additional information, see product label.

  1. Remove dirt, grease, moisture, soap residue & old sealant from area to be sealed.  Use backer rod for gaps larger than 1/2″ x 1/2″. 
  2. Cut nozzle to obtain desired bead size.
  3. PIERCE INNER FOIL SEAL.
  4. Using caulk gun, apply sealant into gap. Smooth with a gloved finger or “tool” the caulk into gap.
  5. Wipe hands & tools thoroughly before washing.
  6. Allow 12 hours before exposing sealant to water.

Meets ASTM C-920, Type-S, NS, Class 25, use NT, M, G, A & O test requirements

Fed Spec TT-S-00230C; TT-S-001543A

All Purpose Silicone 1 sealant is compliant for incidental food contact under FDA 21 CFR177.2600 “Rubber articles intended for repeated use.”

To access the safety data sheet, enter the product SKU from the list below in the search field found here. Then select your language and country to download a copy.

For products produced by Henkel Corporation, please use the UPC Code. You can click on the corresponding UPC code below to access the SDS.

Color UPC Code
White 061083641344
Transparent 061083641306
All Purpose Silicone 1® Sealant
Same-day Rain Ready Time
7-year Mold-Free Product Protections
25% Flexibility/Joint Movement
Paintable
Low Odor
Will Not Blemish Most High-End Metals
Available in squeeze tube
Advanced Silicone 2® Window & Door Sealant
30-minute Water-ready Time
10-year Mold-Free Product Protections
35% Flexibility/Joint Movement
Paintable
Low Odor
Will Not Blemish Most High-End Metals
Available in squeeze tube
Supreme Silicone Window & Door Sealant
30-minute Water-ready Time
Lifetime Mold-Free Product Protections
50% Flexibility/Joint Movement
Paintable
Low Odor
Will Not Blemish Most High-End Metals
Available in squeeze tube

All Purpose Silicone 1® Sealant

Advanced Silicone 2® Window & Door Sealant

Supreme Silicone Window & Door Sealant
Water-ready Time Same-day30-minute30-minute
Mold-Free Product Protections 7-year10-yearLifetime
Flexibility/Joint Movement 25%35%50%
Paintable
Low Odor
Will Not Blemish Most High-End Metals
Available in squeeze tube

Contact Form

Sealing to Prevent Pests

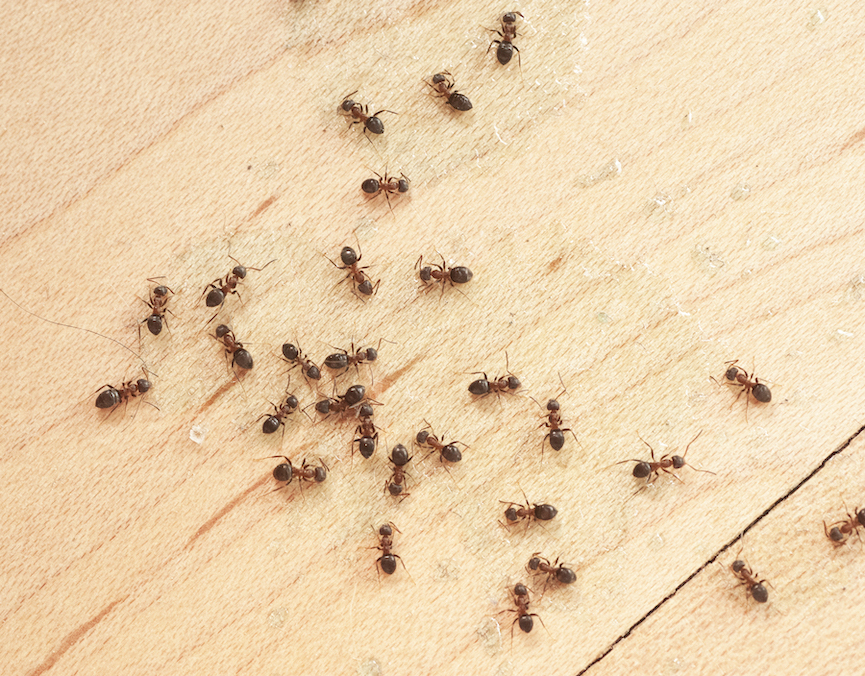
Caulk can serve as the first line of defense against pests by sealing gaps and cracks around a home, helping to prevent them from entering. It can be used alone as a proactive and insecticide-free approach or in conjunction with such products if pests have already penetrated the home.

  1. LOCATE THE POTENTIAL ENTRY POINTS FOR BUGS AND PESTS
    There are several areas on the interior and exterior of a home that could have gaps and cracks that should be sealed, including:EXTERIOR

    • Roof trim, roof rafters, joints, sheathing and siding
    • Exterior columns, steps, decks and porches
    • Exterior pipes and foundation
    • Doors, windows, door and window frames

    INTERIOR

    • Moldings and baseboards
    • Floorings and walls
    • Interior pipes and plumbing
  2.  FILL THE GAPS with a silicone sealant. A silicone sealant is best used:
    • To fill gaps or cracks smaller than 1/2″ by 1/2″ (unless using backer rod)
    • For inside or outside applications
    • For applications that require flexibility due to joint movement
    • RECOMMENDED PRODUCT: Advanced Silicone 2+ Window & Door Sealant
  3. PREP FOR SEALING:
    • CLEAN THE SURFACE
      Remove old sealant, dirt and loose particles with a caulk-removing tool, or a wire brush for concrete and masonry applications, and wipe clean with a cloth. Apply masking tape to either side of the joint to create a straight edge. (Remove immediately after caulk application.)
    • READ ALL SAFETY INSTRUCTIONS BEFORE USE AND FOLLOW COMPLETELY
      Wear safety goggles, gloves, respiratory protection and protective clothing.
  4. PREPARE THE TUBE AND SEAL
    Cut the nozzle to desired bead size. Pierce the inner seal with a stiff wire or other similar object. Insert the cartridge into the caulking gun. Seal around unsightly cracks or spaces inside and outside the home. If using a caulk gun, squeeze with even, consistent pressure to control the rate at which the caulk leaves the tube.
  5. SMOOTH THE SEAL
    Use your gloved finger or a wet caulk-smoothing tool within two to five minutes of application.
  6. STORE THE TUBE AND CLEAN
    Adjust pressure to the gun so that the sealant is barely coming out of the tube. Replace the cap, or use a nail or similar object to seal the tube opening. To clean the area around the sealed joint, use mineral spirits for silicone sealants; wipe excess material from tools and clean accordingly as well.

*Silicone 2 is a trademark of Momentive Performance Materials Inc.