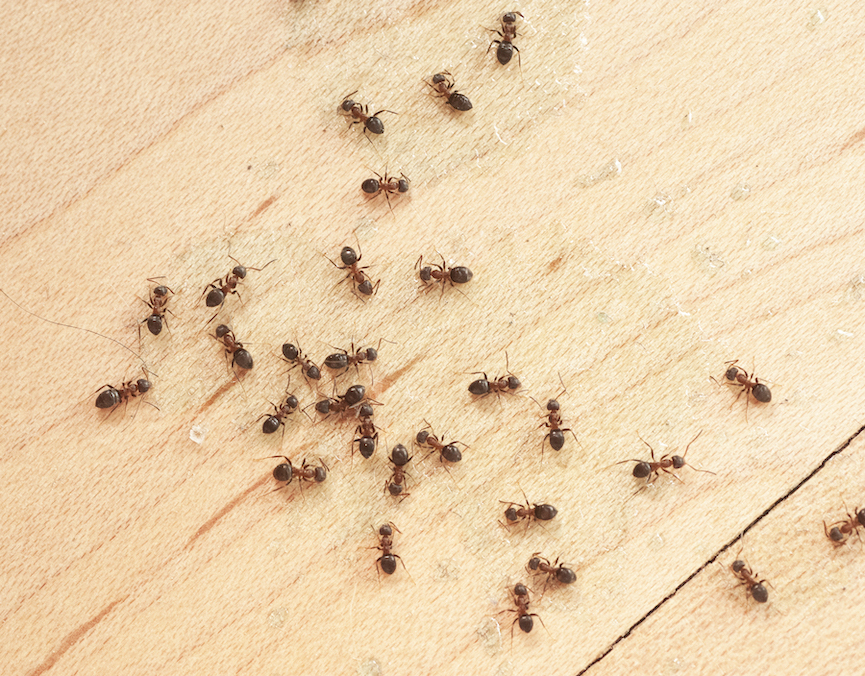
Caulk can serve as the first line of defense against pests by sealing gaps and cracks around a home, helping to prevent them from entering. It can be used alone as a proactive and insecticide-free approach or in conjunction with such products if pests have already penetrated the home.
- LOCATE THE POTENTIAL ENTRY POINTS FOR BUGS AND PESTS
There are several areas on the interior and exterior of a home that could have gaps and cracks that should be sealed, including:EXTERIOR- Roof trim, roof rafters, joints, sheathing and siding
- Exterior columns, steps, decks and porches
- Exterior pipes and foundation
- Doors, windows, door and window frames
INTERIOR
- Moldings and baseboards
- Floorings and walls
- Interior pipes and plumbing
- FILL THE GAPS with a silicone sealant. A silicone sealant is best used:
- To fill gaps or cracks smaller than 1/2″ by 1/2″ (unless using backer rod)
- For inside or outside applications
- For applications that require flexibility due to joint movement
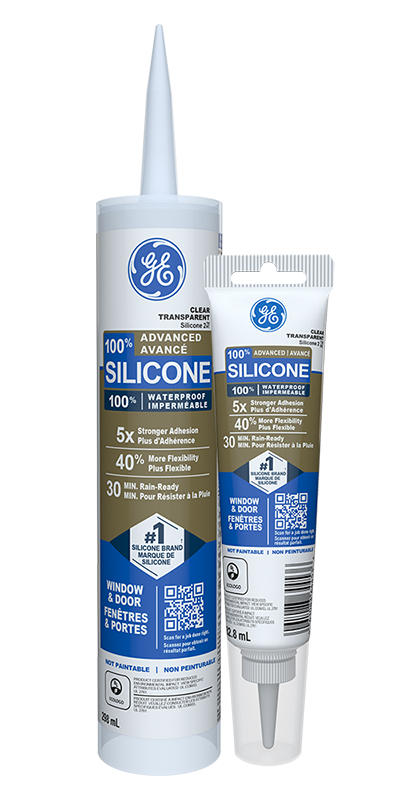
- RECOMMENDED PRODUCT: Advanced Silicone 2™+ Window & Door Sealant
- PREP FOR SEALING:
- CLEAN THE SURFACE
Remove old sealant, dirt and loose particles with a caulk-removing tool, or a wire brush for concrete and masonry applications, and wipe clean with a cloth. Apply masking tape to either side of the joint to create a straight edge. (Remove immediately after caulk application.) - READ ALL SAFETY INSTRUCTIONS BEFORE USE AND FOLLOW COMPLETELY
Wear safety goggles, gloves, respiratory protection and protective clothing.
- CLEAN THE SURFACE
- PREPARE THE TUBE AND SEAL
Cut the nozzle to desired bead size. Pierce the inner seal with a stiff wire or other similar object. Insert the cartridge into the caulking gun. Seal around unsightly cracks or spaces inside and outside the home. If using a caulk gun, squeeze with even, consistent pressure to control the rate at which the caulk leaves the tube. - SMOOTH THE SEAL
Use your gloved finger or a wet caulk-smoothing tool within two to five minutes of application. - STORE THE TUBE AND CLEAN
Adjust pressure to the gun so that the sealant is barely coming out of the tube. Replace the cap, or use a nail or similar object to seal the tube opening. To clean the area around the sealed joint, use mineral spirits for silicone sealants; wipe excess material from tools and clean accordingly as well.
*Silicone 2 is a trademark of Momentive Performance Materials Inc.