Note: This DIY article is provided as a general guide only and is not intended to take the place of product-specific installation procedures; always follow applicable manufacturers’ instructions. Depending on your home’s age and condition, location within the home, and other potential factors, repairs and/or upgrades or other services may be necessary prior to the beginning and/or completion of your project that may involve the services of a home improvement professional. This article does not include advice pertaining to local building codes and/or any related inspections
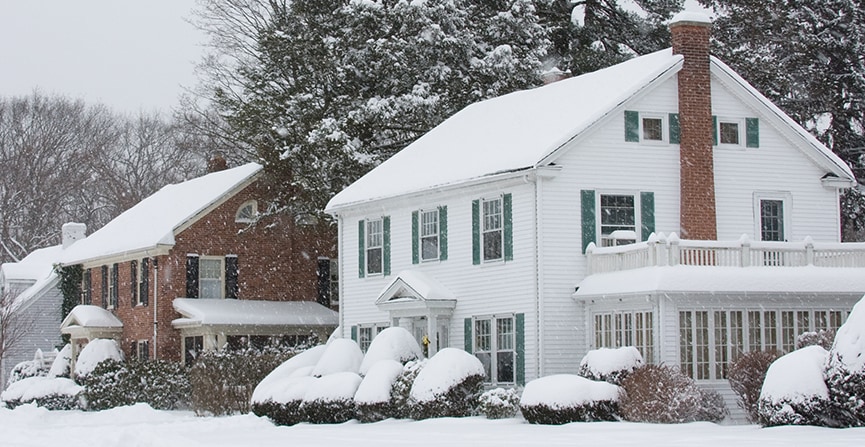
It’s never too early to start thinking about winterizing your home. Ensuring your home is properly sealed not only keeps winter weather outside where it belongs, but it contributes to long-term home energy savings on your heating and cooling costs. Here are some ways to make sure your home is prepared for winter.
CHOOSE THE RIGHT SEALANT
The GE Sealants & Adhesives lineup offers a variety of caulks and sealants that can seal those gaps and cracks in your home that can lead to air infiltration, water damage and more.
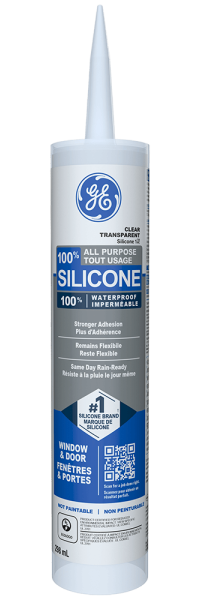
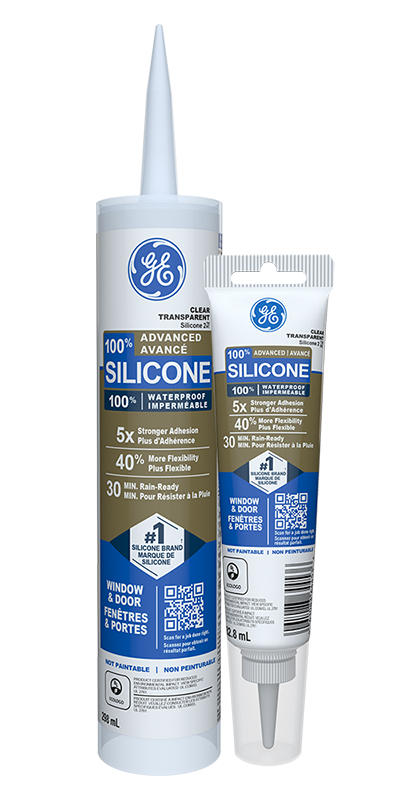
Silicone sealants are a great choice because they’re 100% waterproof and extremely flexible, allowing them to withstand extreme weather. All Purpose Silicone 1® sealant creates a permanently waterproof, flexible and shrink and crack-proof seal. Plus, it can be same-day rain-ready1. If you’re looking for something with low odor and a shorter time for water exposure, Advanced Silicone 2® Window & Door sealant can be water-ready in as little as 30 minutes and offers 10-year mold-free protection2.
Should you need a paintable finish, Paintable Silicone Supreme Window & Door Sealant creates a strong, waterproof seal that can be paint-ready in as little as 30 minutes3.
APPLY THE SEALANT TO VULNERABLE AREAS
Now that you have chosen the sealant that fits your needs, it’s time for application. Start by inspecting the outside of the home: windows, doors, flashing and exterior trim. If these areas aren’t properly sealed, cold air and moisture can get in.
Before applying any new sealant, be sure to clean and remove any old sealant and make sure the surface is clean of paint, dirt, rust, mold and moisture.
Next, insert sealant into caulk gun and apply a steady bead that runs the length of the crevice and repeat. Finally, don’t forget to inspect your basement or attic for cracks and gaps as well. While you may not go into either very often, they’re prone to similar exposure.
Sealing your home is a priority for tackling the winter weather, but there are other steps you can take along the way. For example:
- Ensure your home is properly insulated
- Use a smart thermostat to keep temperatures regulated
- Put a cover over your water heater to retain heat
- Ask your energy provider to conduct an energy audit.
These are simple ways to help winterize your home that can add up into savings.
Staying warm in the winter doesn’t have to be costly. Start by using the right sealants around your home and then follow through on other important ways that you can keep the heat in and the cold out.
Looking for more DIY project ideas? Visit our Projects & How To’s page for more.


