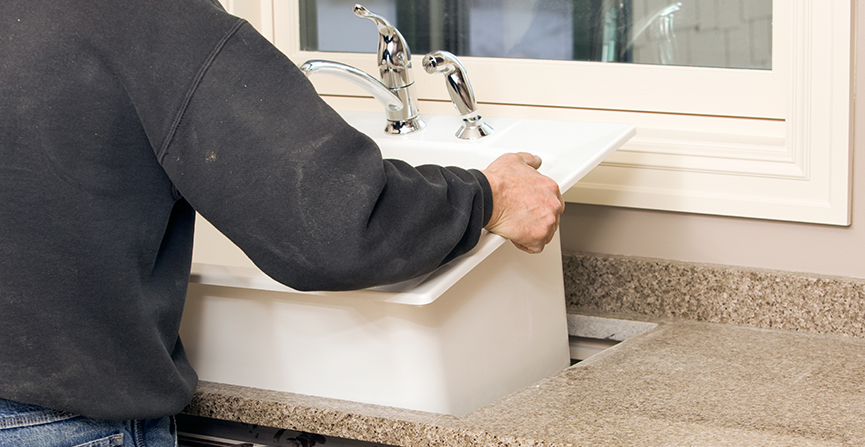
Transform the look of the entire bath or kitchen by replacing the focal point of the room the sink drop in sink installation is a basic project for a beginning diyer.
Note: This DIY article is provided as a general guide only, and is not intended to take the place of product-specific installation procedures; always follow applicable manufacturers’ instructions. Depending on your home’s age and condition, location within the home, and other potential factors, repairs and/or upgrades or other services may be necessary prior to the beginning and/or completion of your project that may involve the services of a home improvement professional. This article does not include advice pertaining to local building codes and/or any related inspections.
Project time: approximately 3 hours
- GATHER YOUR MATERIALS
Required materials may include: safety goggles, bucket, measuring tape, carpenter’s pencil, utility knife, adjustable pliers, pipe wrench, adjustable wrench, crowbar, jigsaw, screwdriver, tube cutter, copper tubing, emery cloth, propane torch, solder, flux, tape, screws or nails, taping knife, paint and paintbrush; tiles, adhesive, and grout as needed to finish the countertop; spirit level, plumber’s putty, power drill and carbide bit; GE Silicone 2™+ Kitchen & Bath sealant, and a caulking gun. - DETERMINE LOCATION FOR SINK AND MEASURE PLACEMENT
After you’ve determined the best location for the sink, turn the sink upside down and position it on the countertop in the spot you eventually want to place it. Measure the width and depth of the sink. Check under the cabinet to make sure the new sink will have enough clearance for the faucet supply plumbing and the drain assembly. Also, you will need to be sure it will clear the structural parts of the cabinet. - TRACE THE SINK ONTO THE COUNTERTOP
With the sink upside down and in its final position, lightly trace the perimeter of the sink onto the countertop with a pencil. Measure the length of the sink’s lip (the part that will lay flush on the countertop). Most sinks have a 1/2″ lip. Remove the sink. Draw a cut line 1/2″ (approximately the size of the sink lip) inside the previously traced perimeter line. - MEASURE THEN DRILL A PILOT HOLE
Before you drill or cut, measure everything again to make sure your sink will fit properly When you’re sure of the placement, at any point, drill a hole to the inside tangency of the cutline big enough to accept the blade from your jigsaw. With a jigsaw, cut the opening along the cut line (1/2″ inside the sink’s perimeter line). - MOUNT ALL OF THE SINK HARDWARE
Following the manufacturers’ instructions, mount the faucet and drain assemblies to the drop-in sink. Be certain to apply a bead of plumber’s putty to the underside of the drain in order to provide a watertight seal. Wipe away any excess sealant before it begins to cure. - CHECK THE SINK FITS
Before applying any sealant, place the sink with the drain and faucet assemblies into the opening to ensure it fit. Position the sink in its absolute final location and mark several guide points around the sink and countertop with a light pencil. - APPLY THE SEALANT
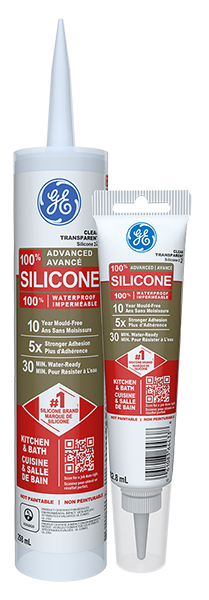
Remove the sink and place it upside down. Apply an unbroken 3/8″ bead of GE Silicone 2+ Kitchen & Bath sealant to the underside of the sink’s lip. - LOWER SINK INTO THE OPENING
Carefully lower the sink back into the opening and align it with the pencil guides. Press the sink down firmly to spread the sealant and form a watertight seal between the sink and the countertop. Wipe away any excess sealant with a clean, dry cloth before it begins to skin—within two to five minutes. Allow the sealant to cure completely before connecting the plumbing supplies and drain. GE Silicone 2+ Kitchen & Bath sealant will typically cure in 24 hours. - ATTACH PLUMBING TO SINK
Once the sealant has completely cured, follow the manufacturer’s instructions for completing the attachment of all of the plumbing components.


