
- CHOOSE THE RIGHT SEALANT
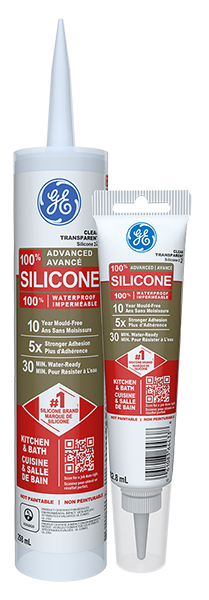
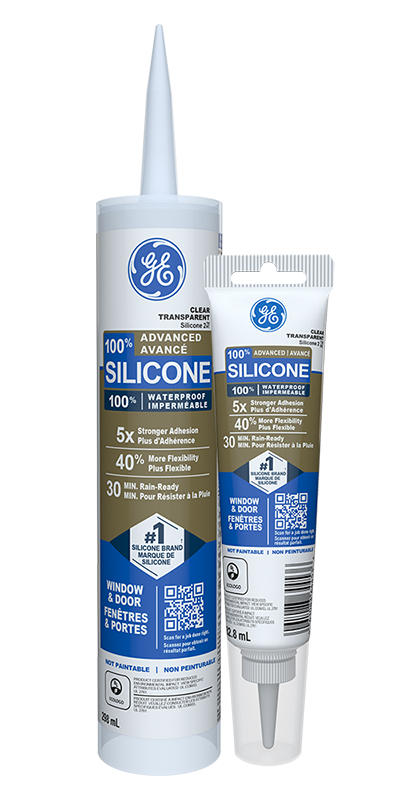
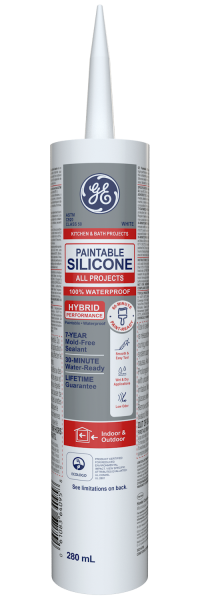
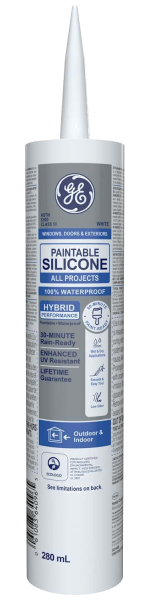
A sealant that keeps air and water out over time is a necessity when sealing around the home. For a long-lasting seal, choose a permanently waterproof, flexible, shrink-/crack-proof 100% silicone sealant. Air and water can seep through gaps left by cracked caulk. Those leaks can lead to water damage, mold growth, and higher energy bills. Look for GE Silicone 2*+ Window & Door Sealant or Kitchen & Bath Sealant, or, if you are painting, try Paintable Silicone All Projects Kitchen & Bath Sealant or Paintable Silicone All Projects Window & Door Sealant - CLEAN THE SURFACE
Remove old caulk/sealant, dirt, and loose particles with a caulk-removing tool, or a wire brush for concrete and masonry applications, and wipe clean with a cloth. Apply masking tape to either side of the joint to create a straight edge. (Remove immediately after caulk application.) - PREPARE THE TUBE AND SEAL
Cut the nozzle to the desired bead size. Pierce the inner seal with a stiff wire or similar object. Insert cartridge into caulking gun. Seal around unsightly cracks or spaces inside and outside the home. If using a caulk gun, squeeze with even, consistent pressure to control the rate at which the caulk leaves the tube. - SMOOTH THE CAULK SEAL
Use your gloved finger or a wet caulk-smoothing tool within two to five minutes of application to help achieve a smooth, clean bead of caulk. - STORE THE TUBE AND CLEAN
Adjust pressure to the gun so that the caulk/sealant is barely coming out of the tube. Replace the cap, or use a nail or similar object to seal the tube opening. To clean the area around the sealed joint, use mineral spirits for silicone sealant, and soap and water when using an acrylic; wipe excess material from tools and clean accordingly as well.
SHOPPING LIST
- GE-branded 100% silicone or paintable silicone sealant
- Dripless caulk gun
- Caulk-removal tool, putty knife, painters multi-tool or utility knife
- Clean cloths
- Gloves
- Caulk-smoothing tool
SEALING TIPS AND ADVICE
SEALING WINDOWS, DOORS, ATTICS, AND BASEMENTS
- Make sure doors and windows are closed securely and do not need to be rehung.
- If you plan to paint the window or doorframe, make sure the caulk or sealant you use can also be painted, or that the color caulk will be compatible with surrounding materials.
- Pre- test the product flow to get comfortable with using the gun and with your technique for applying the appropriate trigger pressure before you start your job.
SEALING KITCHEN, BATH, AND PLUMBING APPLICATIONS
- Swab the joint to be sealed with rubbing alcohol to remove soap scum, body oils, and other residue. Rubbing alcohol dries quickly and is an excellent way to prepare the surface for proper adhesion.
- When caulking around a bathtub, it is recommended that you first fill the tub with water to pull it the furthest distance from the opposing joint edge. Apply a fresh bead of sealant to the joint.
- If you are caulking a shower stall, work from the inside out. Seal the inside seams before the external ones so as to avoid disturbing the uncured caulk.
TESTING FOR ENERGY LEAKS
Your home should be tested twice a year (once in the spring and again in the winter) to see if you are protected from energy loss, pollution, pests, and moisture. If you find gaps and cracks, be sure to seal them—it’s as easy as five simple steps.
- Test #1: The dollar bill test: Place a dollar bill between the doorjamb or between the window sash and sill. With the door or window closed, attempt to remove the dollar bill. If it slides out easily, the area is subject to energy loss.
- Test #2: The flashlight test: Shine a flashlight around the edges of your door at night. If you can see light from the other side, the area subject to energy loss.
- Test #3: The moist hand test: Pass a moist hand around the edge of your doors and windows. Where you feel a draft, the area is subject to energy loss. This test works best on cold, windy days.