Note: This article is provided as a general guide only and is not intended to take the place of product-specific installation procedures; always follow applicable manufacturers’ instructions. Depending on your home’s age and condition, location within the home, and other potential factors, repairs and/or upgrades or other services may be necessary prior to the beginning and/or completion of your project that may involve the services of a home improvement professional. This article does not include advice pertaining to local building codes and/or any related inspections.
Whether you have been working with sealant for one year or ten years, you can always learn more. We have collected some tips from professionals for kicking your bathroom sealing job up a notch. With these tips in your back pocket, you’ll stand out as a professional, attracting new and retaining loyal clients.
Dive into seven bathroom sealant tips that help distinguish you as a reliable contractor.
Tip 1. Sealant quality matters
Bathroom sealant must be 100% silicone. You will use sealant rather than caulk for most bathroom jobs since caulk is acrylic and is not as compatible with bathroom sealing jobs. Bathroom silicone is the only material waterproof enough to handle moisture exposure in a bathroom. It is also the best material to withstand the wear and tear of regular bathroom usage.
There are several other sealant features to consider when researching the best bathroom sealant in addition to its waterproof ability. Finding a bathroom silicone sealant with these features will vastly improve your work:
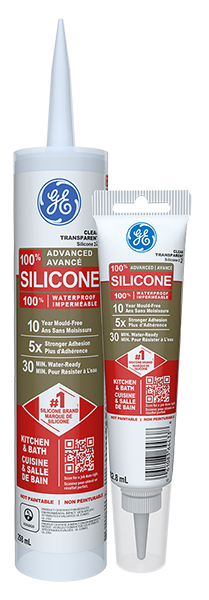
- Mould protection: Mould is your #1 enemy. Fight against mould by choosing a sealant that protects against its growth. For example, many of GE Sealant’s bathroom sealants have a 10-year mould-free protection.
- Flexibility: Silicone’s flexibility is why contractors use it for sealing bathrooms. Flexible silicone moves without cracking or breaking. It can also withstand temperature changes without losing its seal. A sealant like GE sealant’s 40% more flexible sealant gives your work added strength.
- Water readiness: Bathrooms have nearly constant moisture exposure. When you select a sealant for the room, look at its water-ready time. This is the minimum time required before it is water resistant, and it can be exposed to water without losing its seal while curing.
- Pairing with finishes: How well does your sealant pair with your bathroom appliances? A quality bathroom silicone sealant won’t varnish or hurt any finishes.
Many of GE’s bathroom sealants have a 10-year mould-free protection.
Tip 2. Keep the right temperature
The temperature will impact how well your sealant cures. You will want to monitor the temperature of the room, silicone, and the surface.
For the best results, keep your surface and silicone above 0 degrees Celsius and below 48 degrees. The ideal temperature for your area and sealant is 23 degrees Celsius.
You don’t need to hit the ideal temperature to use sealant. As long as the temperature is above freezing, you can begin work. However, if the temperature is cooler, the cure time will increase. So, try to come as close as possible to that 23-degree mark.
Tip 3: Use backer rods for significant gaps
Some gaps and cracks in your bathroom can feel like endless pits. If you try to fill the entire large gap with sealant, you will waste a considerable amount of product where you don’t need it. You only need sealant near the entrance of the gap to keep water out. You can use other materials to fill the gap within the hole.
Backer rods are the most popular choice. They fill in significant gaps and provide a stable surface for the silicone to adhere to.
Use a backer rod for a stronger hold if a gap is deeper than a half inch. Then, conserve your sealant to fill the remaining space, ensuring a smooth, completely sealed finish.
Tip 4: Avoid overworking sealant
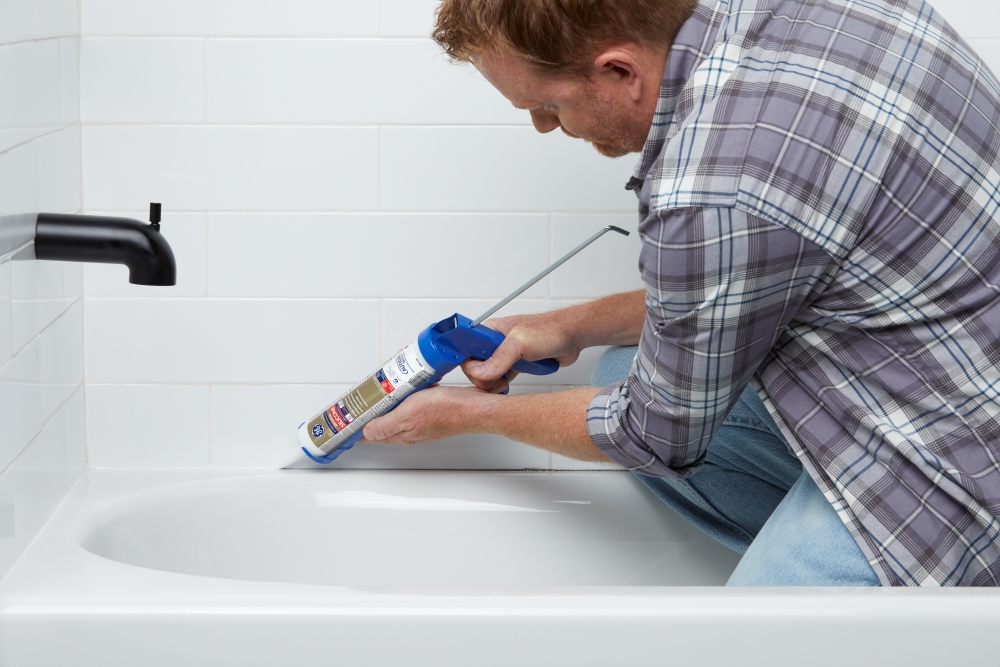
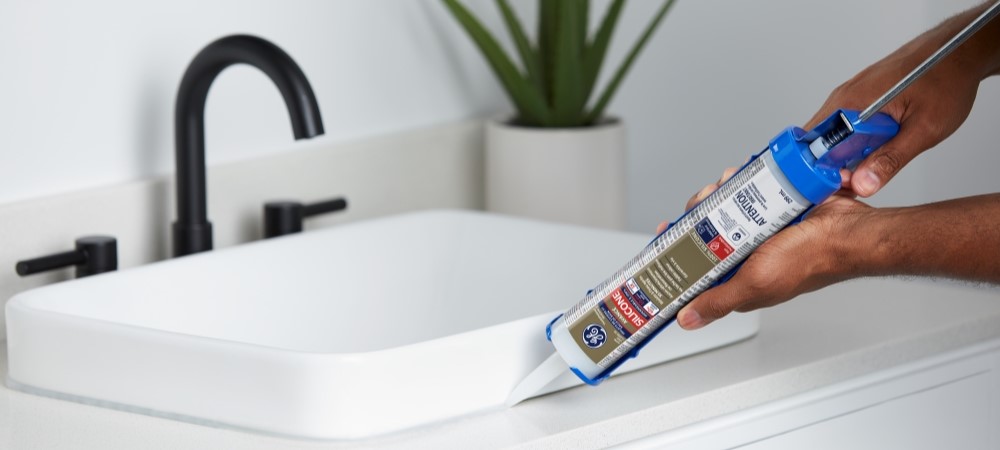
Applying silicone is delicate work. You will apply a steady bead and gently press it with your gloved hand or caulking tool to help it seal. Once you have that seal, take a step back while it cures.
If you notice a mistake or bumpy area, your first instinct might be to keep fiddling with the silicone bead until it is perfect.
Overworking silicone, once smooth, can hurt your seal. As you touch it, you risk pulling it away from the surfaces on which it has already begun to cure. Remember, sealant can be water-ready in as little as 30 minutes, so it begins curing fast. You must allow it to dry before touching it or fixing mistakes.
Tip 5: Test sealant before committing
Investing in the best bathroom sealant can ensure you receive a consistent, quality seal. However, even if the product is consistent, it doesn’t mean the area will be equally consistent and reliable. Bathrooms have rough surfaces, smooth surfaces, tiles, and every material in between.
Each person’s bathroom is unique and can also provide unique challenges.
Uneven surfaces and certain appliance finishes are just two ways a bathroom might prevent a sealant from adequately working.
Before committing to sealing an entire bathroom, begin with a small portion to ensure the sealant will work on the surface.

Tip 6: Match the sealant’s color
Silicone sealant is not paintable, unless it is specified on the sealant’s bottle.
Just because you can’t paint over the sealant doesn’t mean you don’t have other options. GE sealant offers several different colors of bathroom sealant, including white, clear, and almond.
Choose a color that will blend in with the surrounding décor. For example, white blends well with white tubs and sinks. If you use it on a glass door or are unsure what will look best, start with clear for the most versatile color and appearance. Almond sealant blends in with colored backgrounds that need a softer sealant color to complement it.
Tip 7: Refresh before you reseal
Contractors understand the unique challenge of removing old sealant. Old sealant can be very stubborn, but you must remove it before applying new sealant, otherwise, you might compromise the seal.
Before jumping into the task, you have one other option to consider.
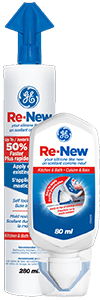
GE Sealant’s Re-New Cartridge fits conveniently in your caulk gun. It allows you to touch up old spots, even with old caulk still in the area, without fully resealing the bathroom.
When you take the time to seal a bathroom the right way the first time, it will last longer, look better, and fight mould more efficiently. Following these tips will help you stand out as a contractor, proving to clients that you understand the subtle nuances of applying bathroom sealant.


